
In this article (2)
1. Fill in your practice’s details
- Log in to the Workspace.
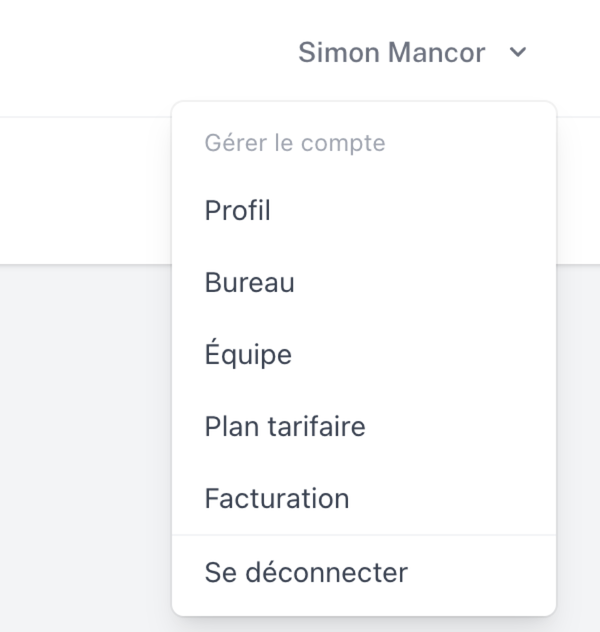
- Click your name at the top right, then “Bureau” (office), and enter the administrative information requested.
- Save it using the button at the bottom of the screen.
💡 Working as a team? See Using another colleague’s name for a permit.
2. Create your first permit
- Click “Nouveau projet” (new project) in the sidebar.
- Enter the project information and the client’s contact details, then click “Créer” (create).
- Enter the project address, or click “Introduire une référence cadastrale à la place” (enter a cadastral reference instead).
- On the “Parcelles et adresses” (plots and addresses) screen, check the plot or plots by clicking on the map.
- Define the proximity zone.
- Airplan collects the plot’s planning data. Then answer the additional questions.
- On the “Documents à générer” (documents to generate) screen, check the selection (the recommended documents are preselected) and click “Confirmer” (confirm).
- On the project page, click “Editer le document” (edit the document) to complete each annex online, then “Télécharger” (download).
💡 Address not found? See My project’s address cannot be found. Want to assess the site first? Start with a feasibility study.